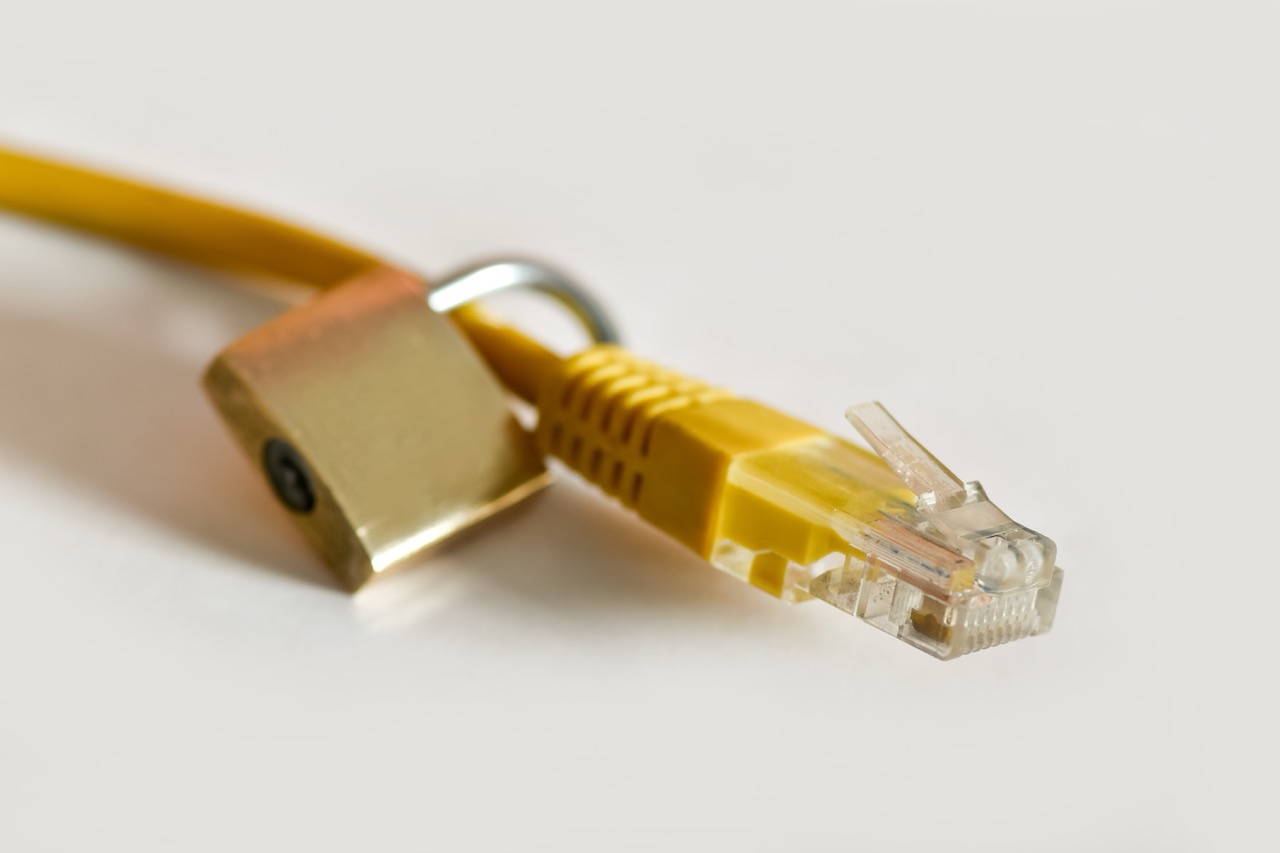
In an increasingly interconnected world, online privacy and security have become paramount. Virtual Private Networks (VPNs) like NordVPN offer users a robust solution to safeguard their internet activities. However, many individuals may not realize the added advantage of installing a VPN directly on their router. By doing so, you can protect all devices connected to your network, streamline management, and enhance your online privacy effortlessly. This article will guide you through the benefits of setting up NordVPN on your router, how to prepare for the installation, a step-by-step configuration process, and how to verify your connection for optimal security.
Understanding the Benefits of NordVPN on Your Router
Installing NordVPN on your router can significantly enhance your online security by encrypting your entire home network. This means that every device connected to your Wi-Fi—be it smartphones, tablets, smart TVs, or gaming consoles—automatically benefits from the VPN’s encryption and security features. This layer of protection is especially vital in an age where personal data is frequently targeted by cybercriminals.
Another key advantage is the convenience of managing a single VPN connection. Instead of configuring NordVPN on each individual device, you can set it up once on your router. This not only saves time but also ensures that all devices are consistently protected without requiring manual intervention every time a new device connects to the network. Furthermore, this setup is ideal for devices that do not support VPN applications natively, such as certain smart home devices.
Setting up NordVPN on your router also enables you to access geo-restricted content across multiple platforms. By changing your IP address to a location where the content is available, you can enjoy unrestricted access on all devices simultaneously. This is particularly useful for families or households with multiple devices, ensuring everyone can enjoy their preferred media without facing regional limitations.
Preparing Your Router for NordVPN Installation
Before diving into the installation process, it’s essential to ensure that your router is compatible with NordVPN. Not all routers support VPN configurations, so it’s crucial to check whether your router’s firmware is compatible with OpenVPN, which is the protocol NordVPN uses. Most routers from major brands like Asus, Linksys, and Netgear support this feature, but a quick visit to the NordVPN website or your router’s documentation can confirm compatibility.
The next step in preparation involves updating your router’s firmware. Outdated firmware can lead to security vulnerabilities and compatibility issues during the VPN installation process. Check your router settings and navigate to the firmware update section to ensure you have the latest version installed. If your router does not support OpenVPN, consider purchasing a pre-configured router from NordVPN or another provider that specializes in VPN-ready hardware.
Lastly, gather the necessary login credentials and configuration files from your NordVPN account. You will need your NordVPN username and password, and you may also require configuration files for the OpenVPN connections. These files can typically be downloaded from the NordVPN website. Having all this information ready will streamline the installation process and reduce the risk of errors during configuration.
Step-by-Step Guide to Configure NordVPN on Router
Begin by logging into your router’s web interface. You can usually access this by entering your router’s IP address into a web browser. Once logged in, locate the VPN section in the settings menu. Depending on your router model, this might be under a specific "VPN" or "Advanced" tab. The terminology can vary, so be prepared to explore a bit.
Next, select the option to add a new VPN profile, choosing OpenVPN as your connection type. You will then need to upload the configuration files you downloaded from your NordVPN account. Be sure to select the correct server location that suits your needs. Additionally, input your NordVPN username and password when prompted. This step is crucial, as it authenticates your connection to the VPN server.
After completing these settings, save the changes and restart your router. This allows the new VPN configuration to take effect. You may also want to test the connection by reconnecting to your Wi-Fi network and checking your IP address through a website like whatismyip.com. This will confirm that your traffic is being routed through the NordVPN servers.
Verifying Your NordVPN Connection for Optimal Security
Once you have configured NordVPN on your router, it’s essential to verify that the connection is secure and functioning as intended. Start by checking your IP address using an online IP checker. If the IP address displayed matches the VPN server location you selected, this indicates that your VPN connection is active and working correctly.
Additionally, you can run a DNS leak test to ensure that your internet traffic is not inadvertently exposed. A DNS leak occurs when your ISP can still see the websites you visit. Use a dedicated DNS leak test tool to verify that your requests are routed through NordVPN’s DNS servers. If there are any leaks detected, revisit your router’s VPN settings and ensure the DNS settings point to NordVPN’s DNS servers.
Finally, consider monitoring your connection periodically. Regularly checking your VPN status and IP address can help you stay informed about your online security. If you notice any issues, such as an unexpected IP address or DNS leaks, revisit the configuration settings to troubleshoot and ensure your connection remains secure.
Setting up NordVPN on your router is a practical solution to enhance your online security and privacy. By following the steps outlined in this article, you can secure all your connected devices with a single configuration, ensuring that your internet activity remains private and protected from prying eyes. With the ability to access geo-restricted content across multiple devices, the advantages are manifold. As always, keeping your router firmware updated and regularly verifying your VPN connection will help maintain optimal security. Enjoy peace of mind knowing that your digital footprint is safeguarded with NordVPN.