In today’s gaming landscape, online security and performance are paramount. As gamers increasingly turn to the internet for multiplayer experiences, the need for a reliable VPN service has never been more critical. NordVPN, known for its robust security features and wide server network, offers several benefits for gamers looking to enhance their online experience. This article will explore how to connect NordVPN to your game console, ensuring a smoother and safer gaming experience.
Understanding the Benefits of Using NordVPN for Gaming
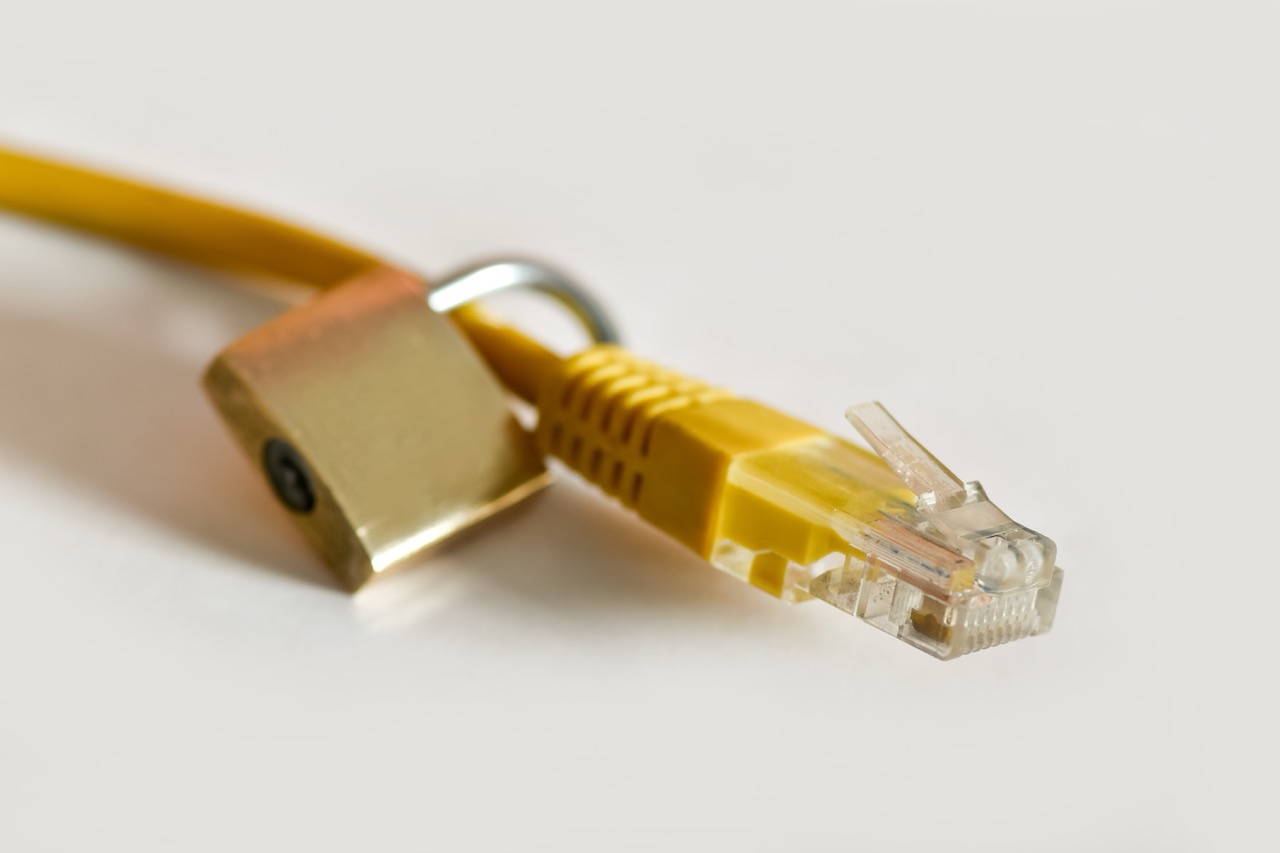
Using NordVPN while gaming comes with numerous advantages. First and foremost, it provides a layer of security against potential cyber threats. Gamers often become targets for DDoS attacks and other security breaches, and a VPN effectively masks your IP address, making it much harder for malicious actors to track or target you. With NordVPN, your online identity is kept private, allowing you to game with peace of mind.
Additionally, NordVPN can help you bypass geographical restrictions. Many games offer different content based on regions, and a VPN allows you to connect to servers in other countries, giving you access to a broader range of games and exclusive content. This flexibility not only enhances your gaming options but can also provide access to better deals or promotions that may be available in different regions.
Lastly, NordVPN can help reduce ping times and improve overall connection stability. While this can vary depending on the server you choose and your original location, many users report experiencing lower latency when connected to a VPN. This is particularly beneficial for competitive gamers where every millisecond counts, making NordVPN a valuable tool for optimizing your gaming performance.
Step-by-Step Guide to Setting Up NordVPN on Consoles
Setting up NordVPN on your game console involves a few straightforward steps. First, you will need to create a NordVPN account and subscribe to a plan that suits your needs. Once you have your account, download and install the NordVPN app on your router or use a compatible device. Most consoles, including PlayStation and Xbox, do not support VPN apps directly, so routing the connection through your router is essential.
Next, configure your router to connect to a NordVPN server. You can follow NordVPN’s specific setup guides for various router models available on their website. Typically, this involves logging into your router’s admin panel, finding the VPN settings, and entering your NordVPN account credentials along with the server address of your chosen NordVPN server. Once configured, connect your console to the router, ensuring that your console is now routed through the secure VPN connection.
Lastly, verify your VPN connection by checking your IP address. You can do this by visiting a website that displays your current IP address, and it should reflect the NordVPN server you are connected to. With this setup, your console is now protected by NordVPN, and you can enjoy a safer gaming experience.
Configuring Your Game Console for Optimal VPN Performance
Once NordVPN is set up on your console, it’s essential to configure it for optimal performance. Start by ensuring that you choose a server close to your physical location. This will likely result in lower latency and a more stable connection. NordVPN has servers optimized for gaming in various regions, so take advantage of this feature by selecting the most appropriate one for your needs.
Additionally, you may want to adjust your console’s network settings for optimal performance. This can include setting a static IP address for your console, which can help with connectivity and ease of access. You should also ensure that the MTU (Maximum Transmission Unit) size is set correctly, as incorrect settings can lead to connectivity issues. A common MTU size for gaming consoles is 1472, but you may need to experiment with this setting to find the best configuration for your network.
Finally, consider disabling any unnecessary background applications or downloads on your console. This can free up bandwidth and ensure that your gaming connection remains stable. By fine-tuning these settings, you can enhance your gaming experience while connected to NordVPN.
Troubleshooting Common Issues with NordVPN on Consoles
Even with the best configurations, you may encounter issues while using NordVPN with your game console. One common problem is slow connection speeds. If you’re experiencing lag or a decrease in performance, try switching to a different server, preferably one that is geographically closer to you. Additionally, check to ensure that no other devices on the network are consuming excessive bandwidth, as this can affect your gaming experience.
Another potential issue is difficulty connecting to online services or games. Some online games have stringent security measures that may flag VPN traffic. In such cases, you might need to use NordVPN’s obfuscated servers, designed to bypass strict firewalls and restrictions. Contacting NordVPN’s customer support can also provide you with tailored advice to resolve connection issues specific to your console.
Lastly, if you find that your console is not recognizing the VPN connection, double-check your router settings to ensure everything is configured correctly. Restart both your router and console to refresh the connection. If problems persist, utilizing NordVPN’s comprehensive support resources, including setup guides and live chat, can help you resolve any lingering issues.
Connecting NordVPN to your game console can significantly enhance your gaming experience by providing security, access to a broader range of content, and potential improvements in connection stability. By following the step-by-step guide provided here, configuring your console for optimal performance, and troubleshooting common issues, you can ensure that your online gaming sessions are secure and enjoyable. Embrace the benefits of NordVPN and take your gaming to the next level today.