In an era where online privacy and security are paramount, VPNs (Virtual Private Networks) have become essential tools for safeguarding personal information. Surfshark, one of the leading VPN providers, offers a robust feature known as "Whitelister." This functionality allows users to tailor their VPN experience by selectively excluding certain applications and websites from the VPN tunnel. This article explores the intricacies of Surfshark’s Whitelister feature, providing a comprehensive guide on how to use it effectively for optimized browsing and security.
Understanding Surfshark’s Whitelister: An Overview
Surfshark’s Whitelister is a split-tunneling feature that empowers users to choose which applications or websites can bypass the VPN connection. This capability is particularly beneficial for individuals who require access to local services or content while still maintaining a secure connection for other activities. By permitting specific traffic to flow outside the VPN tunnel, users can enjoy the advantages of both security and convenience.
The Whitelister feature is also crucial for optimizing internet speeds. While VPNs generally enhance privacy, they can sometimes slow down internet connectivity due to the encryption process. By whitelisting certain applications, users can improve performance for tasks requiring higher bandwidth, such as streaming or online gaming, while still protecting sensitive data on other platforms.
Moreover, Whitelister is particularly useful for users in regions with strict internet regulations. For example, individuals in countries with heavy censorship can use Surfshark to access global content while still allowing local services to function without interruption. This dual strategy ensures a seamless online experience, balancing privacy with practicality.
Step-by-Step Guide to Accessing Whitelister Settings
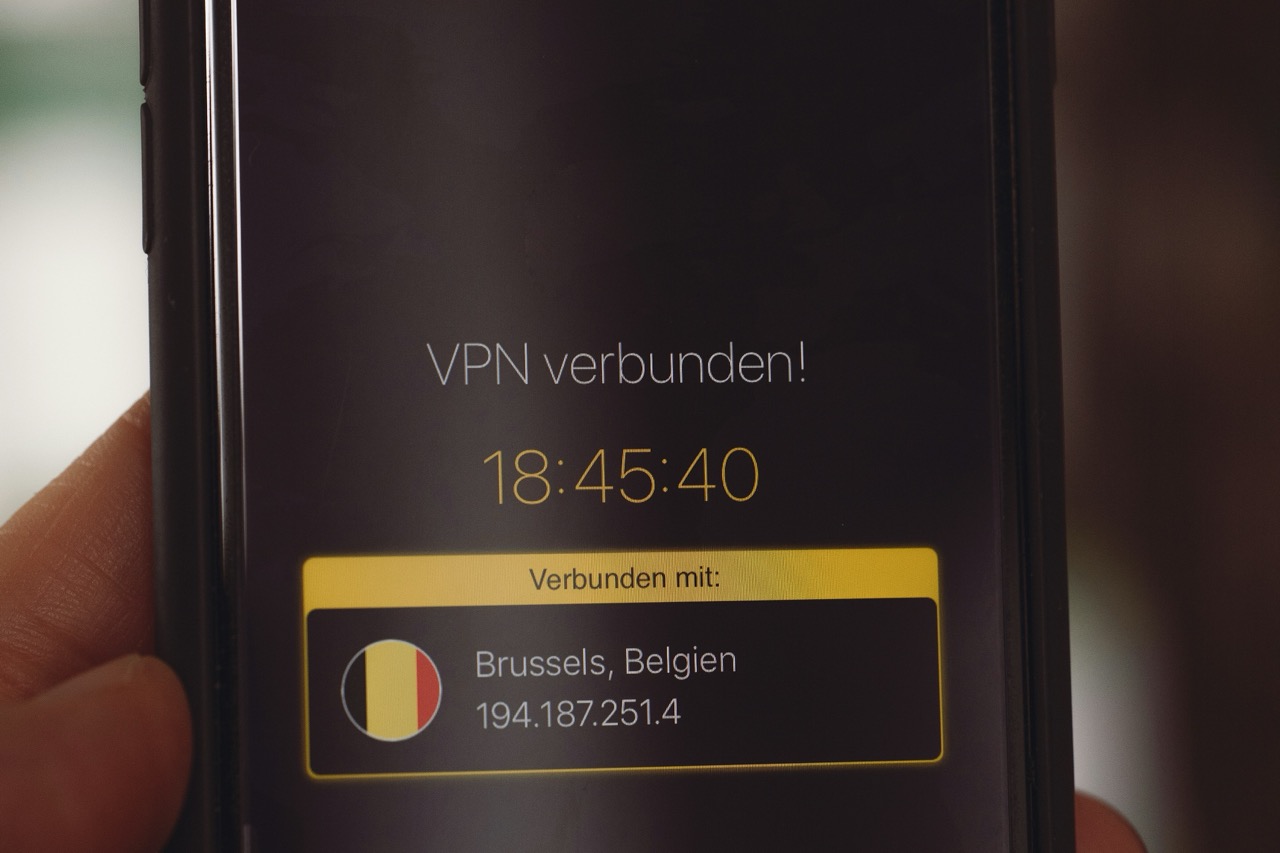
To access the Whitelister settings in Surfshark, you first need to ensure that the Surfshark application is installed on your device. This feature is available across multiple platforms, including Windows, macOS, Android, and iOS. Once you have launched the application, log in with your credentials to access the main dashboard.
Next, navigate to the settings menu by clicking on the gear icon, usually located in the upper right corner of the interface. In the settings panel, you will find several tabs; look for the "Whitelister" option. Depending on your device, this may also be referred to as "Split tunneling." Clicking on this option will lead you to the interface where you can manage your whitelisting preferences.
Once you are in the Whitelister settings, you will see the option to enable or disable the feature. It’s important to toggle this option on before proceeding to add any applications or websites. This initial step activates the Whitelister feature, allowing you to customize your experience according to your needs.
Configuring Whitelister: Adding and Managing Applications
With the Whitelister feature activated, you can now begin adding applications to the list. In the Whitelister settings, you will typically see an option to "Add Application." Clicking this will bring up a file explorer window, allowing you to browse your device’s applications. Simply select the app you wish to whitelist, and it will be added to the list.
In addition to applications, Surfshark allows you to whitelist specific websites. For this, you will find a separate input field or option within the Whitelister settings where you can manually enter the URLs you want to exclude from the VPN connection. This flexibility enables you to fine-tune your online interactions, ensuring essential local services remain accessible while your overall web traffic stays protected.
Managing your whitelisted applications and websites is straightforward. You can review the list at any time and remove entries if your needs change. This is particularly useful for users who may frequently switch between applications or websites requiring different configurations. Ensuring an up-to-date whitelist helps to maintain an optimal balance between security and functionality.
Troubleshooting Common Issues with Surfshark’s Whitelister
While Surfshark’s Whitelister feature is designed to enhance user experience, some users may encounter issues during setup or operation. A common problem is related to applications not functioning properly after being whitelisted. In such cases, it’s advised to double-check that the correct applications have been added and that the Whitelister feature is enabled in the settings.
Another issue may arise when websites are not loading correctly despite being whitelisted. This could be due to several factors, such as browser cache or DNS settings interfering with the connection. Clearing your browser cache or restarting your device can often resolve these issues. Additionally, it may be helpful to toggle the Whitelister feature off and back on again to refresh the connection.
Lastly, users may experience connectivity issues after enabling Whitelister. If the VPN appears to be malfunctioning, it is worth reviewing the configurations. Ensure that no critical applications or websites have been inadvertently excluded from the VPN. If problems persist, reaching out to Surfshark’s customer support can provide further guidance, as they can assist with more advanced troubleshooting steps.
Utilizing Surfshark’s Whitelister feature can significantly enhance both your online security and browsing experience. By understanding how to access and configure this functionality, you can effectively manage your digital footprint while still enjoying the benefits of local access. Whether for performance optimizations or regulatory compliance, Whitelister offers a practical solution for modern internet users. Following the guidelines outlined in this article, you can navigate potential challenges and ensure you are making the most informed decisions regarding your privacy and connectivity.