In a world that increasingly relies on digital interaction, maintaining your privacy and security online is more crucial than ever. One effective way to achieve this is by changing your virtual location, which not only helps safeguard your identity but also allows you to access geo-restricted content. Surfshark, a reputable VPN service, provides a robust solution for those seeking to modify their online location seamlessly. In this article, we will explore the significance of changing your virtual location, guide you through setting up Surfshark for optimal performance, and provide detailed steps on how to change your virtual location effectively. Additionally, we will address common issues that may arise during this process.
Understanding the Importance of Virtual Location Change
Changing your virtual location is essential for several reasons, primarily related to privacy. When you alter your IP address, you make it significantly more difficult for websites, advertisers, and even cybercriminals to track your online activities. This is especially important in an era where data breaches and privacy infringements are prevalent. By masking your true location, you enhance your anonymity and safeguard your personal information against potential threats.
Moreover, altering your virtual location is a strategic move to bypass geographical content restrictions. Many streaming platforms and online services impose limitations on access based on the user’s physical location. By utilizing Surfshark to change your virtual location, you can unlock a wealth of content that would otherwise be unavailable in your region, including movies, shows, and exclusive services. This feature not only enriches your online experience but also ensures that you are getting the most value from your subscriptions.
Finally, changing your virtual location can help you avoid bandwidth throttling imposed by your Internet Service Provider (ISP). Some ISPs deliberately slow down your internet connection based on your online activities, particularly for streaming or gaming. By masking your real IP address, you can potentially avoid these restrictions and enjoy an uninterrupted, high-speed internet experience. The ability to control your virtual location can thus lead to a more secure and enjoyable online presence.
Setting Up Surfshark for Optimal Use
Before changing your virtual location, it is imperative to set up Surfshark correctly to ensure the best possible performance. First, you need to create an account on Surfshark’s website. This process requires selecting a subscription plan that meets your needs, as Surfshark provides multiple options ranging from monthly to yearly plans. After registration, you will receive a confirmation email with further instructions to activate your account.
Next, download and install the Surfshark application compatible with your operating system. Surfshark supports multiple platforms, including Windows, macOS, Android, and iOS, making it accessible for all users. During installation, ensure that you grant the necessary permissions so that the app can function optimally, including network access for the VPN configuration. After installation, launch the app and log in using the credentials created during your account registration.
Once logged in, it is advisable to familiarize yourself with the Surfshark dashboard. The user interface is designed to be intuitive, making it easy to navigate various settings and features. You can adjust preferences such as the protocol used (like IKEv2 or OpenVPN), enable the kill switch feature for added security, and customize your connection settings. Ensuring that all settings are properly configured will enhance your overall experience while using Surfshark to change your virtual location.
Steps to Change Your Virtual Location with Surfshark
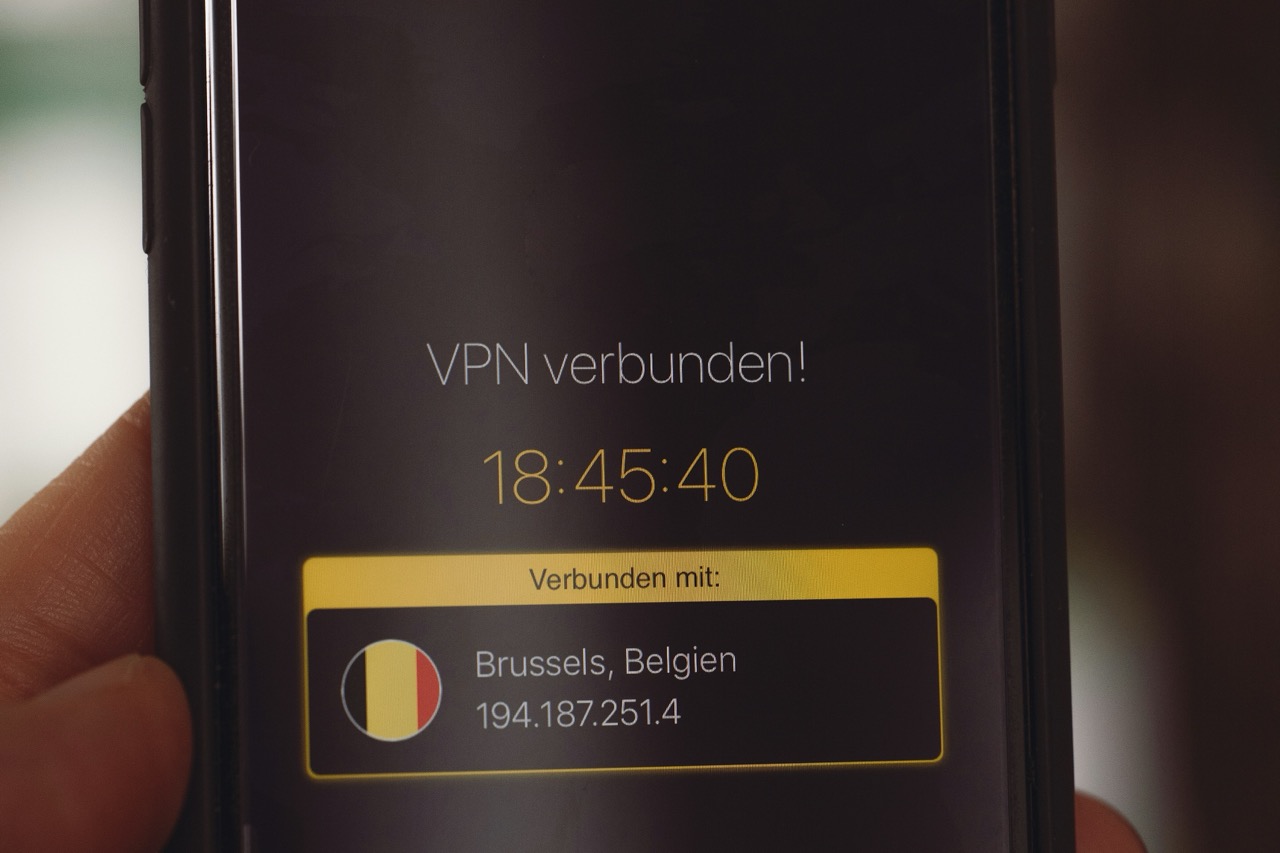
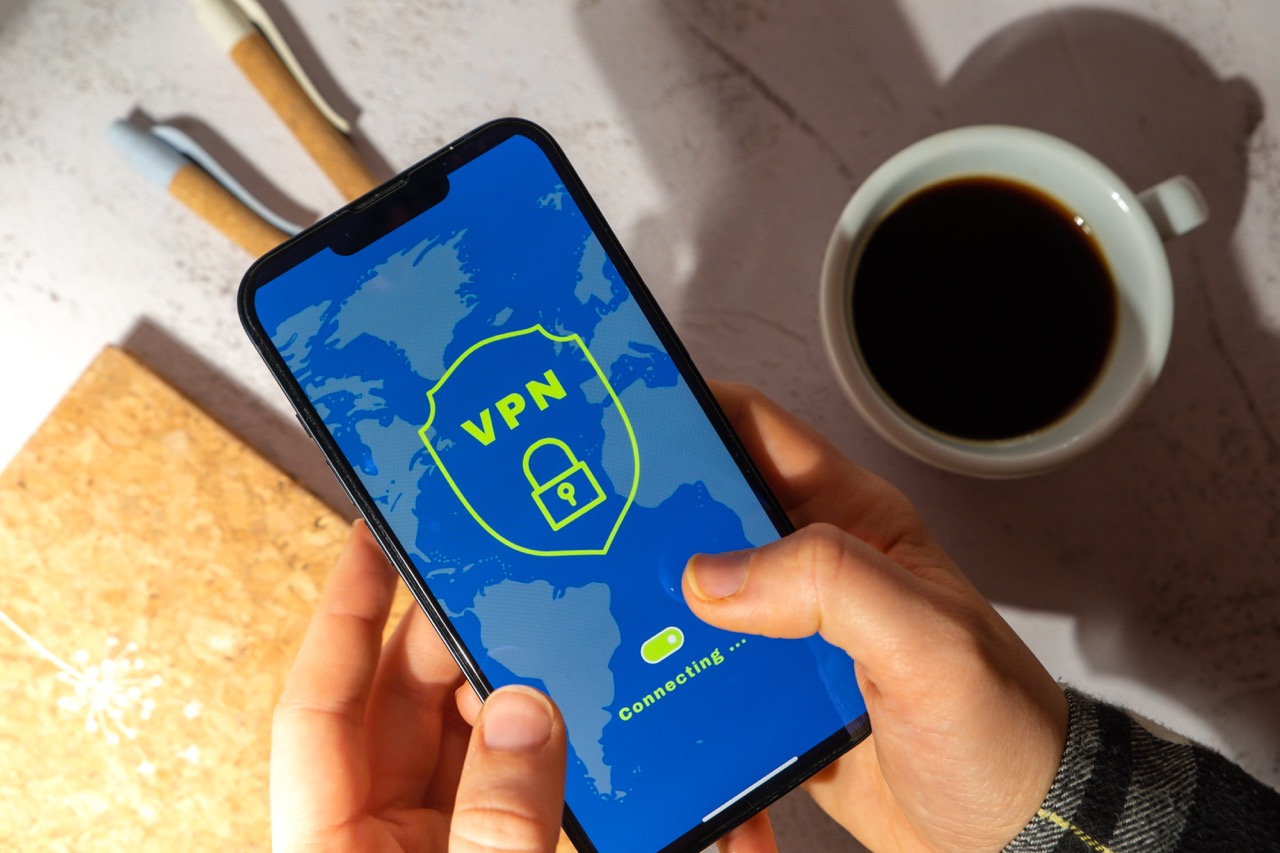
Changing your virtual location with Surfshark is a straightforward process, beginning with launching the Surfshark application on your device. Once the app is open and you are logged in, you will see a list of available servers categorized by country. Select the country you wish to virtually relocate to, and Surfshark will automatically connect you to the best server in that region. This process typically takes only a few seconds, depending on internet speed and server load.
After successfully connecting to the desired server, your IP address will be masked, and you will be assigned an IP address from the selected country. To confirm that your virtual location has changed, you can use an IP geolocation service or simply visit a website that displays your current IP address. This step is crucial to ensure that your virtual location has been altered successfully and you can access the content or services you are interested in.
Once connected, you can begin browsing the internet with your new virtual location. Enjoy accessing geo-restricted content and exploring the internet without the limitations imposed by your original geographic location. If you wish to switch to another country or server, simply return to the Surfshark app and repeat the selection process. The ability to change your virtual location quickly and efficiently is one of the standout features of using Surfshark.
Troubleshooting Common Issues While Changing Location
While Surfshark is designed for ease of use, users may occasionally encounter issues while attempting to change their virtual location. One common problem is connection failure, where the app fails to establish a connection to the desired server. To resolve this, ensure that your internet connection is stable and try switching to a different server within the same country or a different country altogether. Restarting the application or your device can also help resolve connectivity issues.
Another issue users may face is slow internet speeds after connecting to Surfshark. This slowdown can occur due to various factors, including server distance or high server load. To mitigate this, consider connecting to a server that is geographically closer to your actual location or using the "Smart DNS" feature that Surfshark offers. Additionally, ensuring that your device’s firewall or antivirus software is not blocking the Surfshark app can help maintain optimal speeds.
Lastly, users may experience issues accessing certain geo-restricted content even after changing their virtual location. This can occur if the streaming service has implemented advanced VPN detection measures. In such cases, try connecting to a different server or protocol within Surfshark. If problems persist, contacting Surfshark’s customer support can provide tailored advice and solutions to help you regain access to the desired content.
Changing your virtual location with Surfshark not only enhances your online privacy but also broadens your access to a diverse array of content from around the world. By understanding the significance of this feature, setting up Surfshark correctly, and following the necessary steps to change your location, you can significantly improve your online experience. Furthermore, being aware of potential issues and their solutions ensures a seamless and efficient use of the service. With Surfshark, embracing the digital landscape with confidence and security has never been easier.